-
By:
- ida
- No comment
sculpey oven bake clay instructions
Sculpey Oven Bake Clay is a popular polymer clay used for crafting. It’s oven-baked, non-toxic, and ideal for creating durable, long-lasting decorative or functional pieces. Versatile and easy to shape, Sculpey clay remains flexible until baked, making it perfect for various artistic projects.
Overview of Sculpey Clay and Its Uses
Sculpey Oven Bake Clay is a non-toxic, versatile polymer clay ideal for crafting. It remains pliable until baked, allowing artists to shape and reshape it effortlessly. Perfect for creating jewelry, home decor, miniatures, and decorative items, Sculpey clay is a favorite among crafters. Available in various types like Premo!, Soufflé, and Original, it offers unique textures and finishes. Its durability and long-lasting results make it suitable for both casual hobbyists and professional creators. Whether you’re making intricate designs or simple crafts, Sculpey clay’s adaptability ensures it meets a wide range of artistic needs. It’s a must-have material for anyone exploring polymer clay art.
Importance of Proper Baking Techniques
Proper baking techniques are crucial for achieving durable and visually appealing results with Sculpey Oven Bake Clay; Baking at the correct temperature, typically 275°F (135°C), ensures the clay cures properly without burning or discoloration. Adequate baking time, based on the clay’s thickness, prevents undercooked or overcooked pieces, which can lead to brittleness or softness. Using appropriate tools like parchment paper or a baking mat avoids sticking and eases removal. Ensuring even heating by managing oven hot spots and air circulation helps prevent warping. Following manufacturer guidelines is vital, as different Sculpey types may require specific conditions. Accurate temperature control with an oven thermometer and safe preheating practices enhance both the outcome and safety. Neglecting these steps can result in disappointing final products, making proper techniques essential for successful crafting.
Preparation for Baking
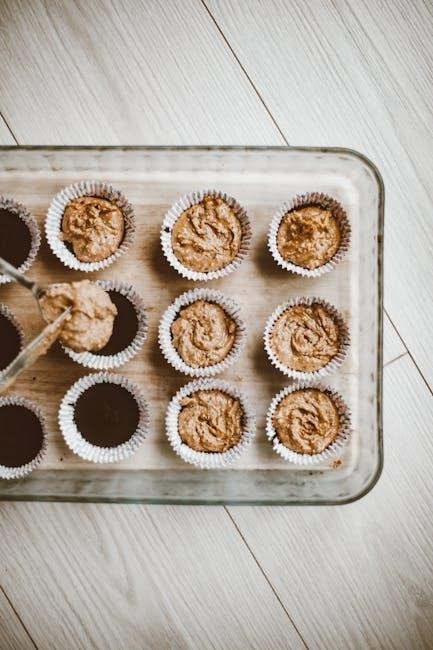
Preparation involves gathering materials like parchment paper, a baking tray, and an oven thermometer. Preheating the oven to 275°F (135°C) ensures proper clay curing. Lining the tray prevents sticking, and spacing pieces evenly promotes consistent baking. Ensuring the oven is at the correct temperature before placing the clay is essential for successful results.
Materials and Tools Needed for Baking
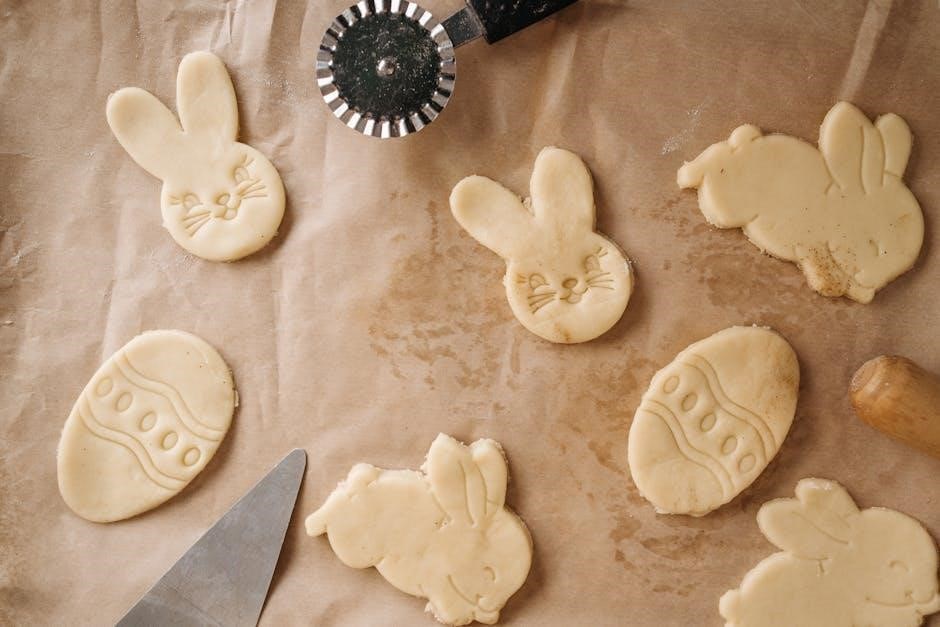
To ensure successful baking of Sculpey Oven Bake Clay, gather essential materials and tools. A baking tray lined with parchment paper or a silicone mat prevents sticking. An oven thermometer is crucial for accurate temperature control, ensuring the oven reaches the recommended 275°F (135°C). Ceramic tiles or glass can also serve as baking surfaces. Protective gear like gloves and goggles is optional but recommended for safety. A spatula or tool can help handle baked pieces. Proper ventilation is important to avoid inhaling fumes. Using the right tools and surfaces ensures even baking and prevents damage to your creations. Always refer to the clay package for specific recommendations. Proper preparation guarantees professional-quality results.
Choosing the Right Surface for Baking
Choosing the right surface for baking Sculpey Oven Bake Clay is essential to prevent sticking and ensure even heating. Parchment paper or a silicone baking mat are ideal options, as they provide a non-stick surface and protect your creations from damage. Ceramic tiles or glass can also be used, as they distribute heat evenly and are oven-safe. For added convenience, Sculpey offers an Oven-Safe Work Mat specifically designed for baking polymer clay. Avoid using aluminum foil or untreated metal surfaces, as they can cause uneven baking or residue. Properly preparing your surface ensures your clay bakes evenly and remains intact after cooling. Always preheat your oven with the surface inside to maintain consistent temperature. This step guarantees professional-looking results and protects your projects from warping or sticking.
Preheating the Oven: Steps and Safety Tips
Preheating your oven is a critical step when baking Sculpey Oven Bake Clay. Start by setting your oven to the recommended temperature, typically 275°F (135°C), and allow it to preheat for at least 15-20 minutes. Use an oven thermometer to ensure accurate temperature control, as incorrect heat can lead to uneven baking. Place your clay creations gently on the prepared baking surface, avoiding overcrowding to allow even air circulation. Never place clay directly on the oven rack, as it may melt unevenly or sag. Always use oven-safe surfaces like parchment paper, ceramic tiles, or a silicone mat. For safety, wear oven mitts when handling hot trays and ensure the baking area is well-ventilated. Some crafters recommend starting with a cold oven and gradually increasing the temperature to prevent cracking or warping. This method ensures a stable heating process and better results.
Baking Process
Bake Sculpey clay in a preheated oven at 275°F (135°C) for 15-30 minutes per 1/4 inch thickness. Place pieces on parchment paper or a silicone mat, ensuring even spacing to prevent distortion.
Step-by-Step Instructions for Baking Sculpey Clay
Preheat your oven to 275°F (135°C) using an oven thermometer for accuracy.
Line a baking tray with parchment paper or use a silicone mat.
Place your Sculpey clay creation on the prepared surface, ensuring pieces are evenly spaced.
Bake for 15-30 minutes per 1/4 inch of thickness, following package instructions.
Avoid overcrowding the tray to ensure even heating.
Once baked, turn off the oven and let the clay cool slightly before handling.
Allow the piece to cool completely on a heat-resistant surface.
Check for hardness; if not fully cured, bake for an additional 5-10 minutes.
This process ensures your Sculpey clay project is durable and long-lasting.
Recommended Temperature and Baking Time
The recommended temperature for baking Sculpey clay is 275°F (135°C). Baking time varies based on the thickness of the clay, with 15 minutes per 1/4 inch (6 mm) of thickness. For example, a piece that is 1/2 inch thick should bake for 30 minutes. It’s important to follow the specific instructions on the Sculpey packaging, as some types, like Sculpey III or Premo, may have slightly different requirements. Use an oven thermometer to ensure accurate temperature control, as inconsistent heat can affect the final result. Always check the clay’s hardness after baking; if it’s not fully cured, bake for an additional 5-10 minutes. Proper baking ensures durability and a professional finish.
How to Ensure Even Heating and Avoid Hot Spots
To achieve even heating and prevent hot spots when baking Sculpey clay, preheat your oven to the recommended temperature and use an oven thermometer for accuracy. Place the clay on a heat-conductive surface, such as a ceramic tile or glass baking sheet, to promote uniform heat distribution. Avoid overcrowding the baking tray, as this can disrupt airflow. Rotate the tray halfway through the baking time to ensure consistent heating. For added stability, bake on a middle rack to avoid direct heat concentration. If using a toaster oven, monitor the temperature closely, as they often have less consistent heat. By following these steps, you can minimize hot spots and ensure your Sculpey creations bake evenly and thoroughly.
Cooling and Post-Baking Care
After baking, allow Sculpey clay to cool completely on a heat-resistant surface. Avoid rushing the cooling process, as sudden changes can cause cracking. Handle cooled pieces gently and store them in a dry, protected environment to maintain their durability and finish.
Proper Cooling Techniques for Sculpey Clay
Proper cooling is essential to ensure the durability and integrity of your Sculpey creations. After baking, allow the clay to cool completely on a heat-resistant surface, such as a ceramic tile, glass, or a silicone mat. Avoid exposing the clay to sudden temperature changes, as this can cause cracking or warping. Gently remove the cooled pieces from the baking surface and handle them with care to prevent breakage. For best results, let the clay cool naturally at room temperature. Avoid placing the pieces in water or direct sunlight during the cooling process. Once cooled, your Sculpey creations are ready for finishing touches, such as sanding or sealing, before being stored or displayed.
Handling and Storing Baked Clay Creations
Once your Sculpey clay creations are fully cooled, handle them with care to avoid breakage. Store them in a cool, dry place, away from direct sunlight or moisture. For added protection, wrap delicate pieces in tissue paper or bubble wrap before storing. Avoid stacking heavy objects on top of baked clay creations to prevent damage. Clean any dust or residue gently with a soft cloth or brush. For long-term storage, consider placing items in airtight containers or zip-top bags to maintain their condition. Proper handling and storage ensure your Sculpey projects remain durable and retain their vibrant appearance for years to come.
Tips for Achieving Professional Results
To achieve professional results, use a thermometer for precise temperature control. Bake multiple layers gradually and finish with sealants for added durability and a polished look.
Using Thermometers for Accurate Temperature Control
Accurate temperature control is crucial when baking Sculpey clay to ensure proper curing and avoid damage. Use an oven thermometer to verify the temperature, as home ovens can vary. The recommended temperature for most Sculpey clays is 275°F (135°C). An incorrect temperature can lead to undercooked or overcooked pieces, affecting durability and appearance. Place the thermometer in the center of the oven for the most accurate reading. For toaster ovens, which can be less consistent, a thermometer is especially important to monitor heat distribution. Preheat the oven fully before baking, and check the temperature periodically during the process to maintain consistency. This ensures professional-quality results every time.
Baking Multiple Layers: Best Practices
Baking multiple layers with Sculpey clay requires careful planning to ensure even curing. Start with thicker base layers and bake at 275°F (135°C) for the recommended time per thickness. Subsequent layers should be thinner and baked separately to prevent warping or cracking. Use supports like cardstock or parchment paper between layers to maintain shape. Avoid overlapping unbaked layers, as this can cause uneven heating. For complex designs, bake each layer separately and allow them to cool completely before stacking. This method ensures durability and prevents structural issues. Always follow package instructions for specific layering guidelines, and use a thermometer to maintain consistent oven temperature for optimal results;
Enhancing Durability and Finish of Baked Clay
To enhance the durability and finish of baked Sculpey clay, ensure proper cooling and post-baking care. After baking, allow pieces to cool completely on a heat-resistant surface. For a polished look, lightly sand the baked clay using fine-grit sandpaper, then seal with a clear acrylic spray or varnish. Avoid exposing baked clay to extreme temperatures or moisture. For added strength, bake thicker pieces or use armature supports. Properly baked and finished Sculpey clay creations are long-lasting and can withstand normal wear. Always follow package instructions for specific finishing techniques, and experiment with sealants or paints to achieve desired results while maintaining durability.
Baking Sculpey Oven Bake Clay is a rewarding craft that offers endless creative possibilities. With proper techniques, your projects will be durable and visually appealing. Enjoy successful crafting!
Final Thoughts on Baking Sculpey Clay
Baking Sculpey Oven Bake Clay is a straightforward process that yields professional results when done correctly. Always preheat your oven to the recommended temperature, typically 275°F (135°C), and bake for 15-30 minutes per 1/4 inch of thickness. Using a thermometer ensures accurate heat control, crucial for preventing under or over-baking. Line your baking surface with parchment paper or a Sculpey-safe mat to avoid sticking. After baking, allow your pieces to cool completely before handling or sanding. Proper post-baking care, like sealing with varnish, enhances durability. Experiment with techniques, layering, and finishes to create unique, long-lasting creations. Happy crafting!
Encouragement to Experiment and Create
Sculpey Oven Bake Clay is a versatile medium that invites creativity and experimentation. Don’t be afraid to try new techniques, mix colors, or layer designs to achieve unique effects; The forgiving nature of polymer clay allows for reshaping and re-baking, making it ideal for both beginners and experienced crafters. Explore different tools, molds, and textures to add depth to your projects. Whether creating jewelry, ornaments, or decorative items, Sculpey clay offers endless possibilities. Remember, the key to mastering polymer clay is practice and patience. Let your imagination guide you, and enjoy the satisfaction of turning raw clay into lasting, personalized creations. Happy crafting!